3D
Unknown
Matrix Direct, The Other One
The Fecalator
Mystery Achievement
There Be Dragons
Waterfall
Thunderhead
Fastest Gun
Hold the Mayo
Fear of Frogs
Eternity
Fear and Loathing in Keene Valley
Diedre
Dresden
Mephisto Waltz
La Pomme D'or
Moby Grape
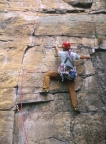
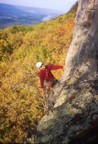
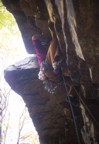
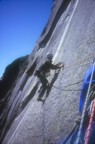
Bennedictus Direct
Mindbender
The Promenade
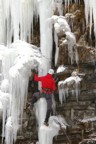
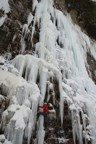
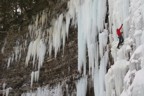
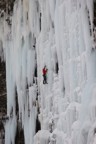
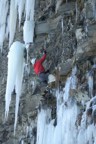
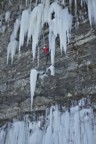
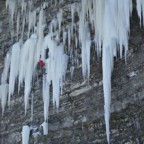
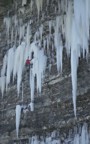
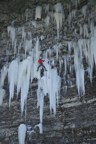
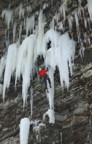
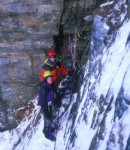
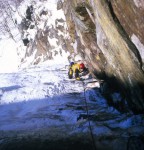
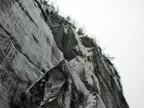
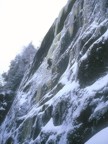
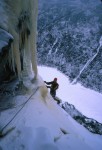
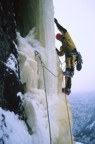
Glass Menagerie
Fat City
Cheap Date
Jaws
Cresenta
Smooth Operator
A Pitch Called Wanda
Chum
King Salmon
Le Mulot
Nest Route
Black Crack
Resistance (aka Surprise Crack)
Wishbone
Stannard's Roof
Elder Cleavage
Hang Ten
Criss
Harvest Moon
Max Factor
Wegetables
Birdie Party
Bonnie's Roof Direct
April Showers
Interstice
Matinee
10,000 Restless Virgins
Scary Area
Space Invaders
Stirrup Trouble
Erect Direction
Creighton-Korman
Pigs In Space
Liberty Bell
Cake Walk
Finagle
Precious Orr
Super Slide
 Matrix Direct, The Other One


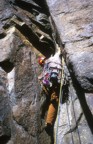


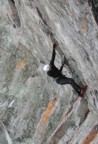
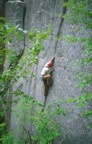

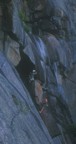
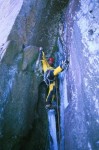
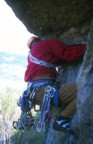


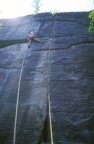


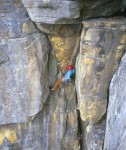
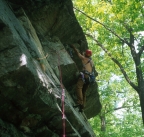
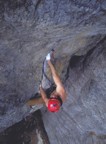
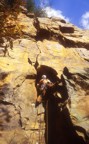
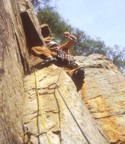
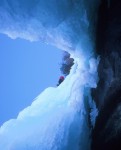
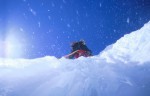
![Bones at the crux of the first pitch; from here, the route continues [climber's] left on an unprotected 5.8 face](Franconia%20Notch/web/thumb/BonesFollowsBenedictusPitch1.jpg)
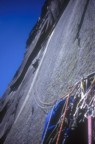


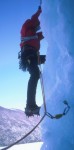
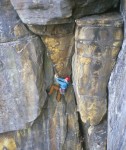
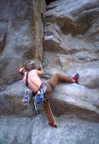
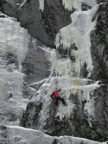
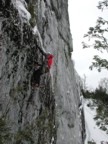
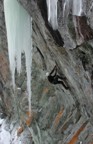
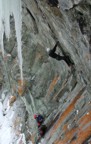
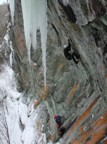
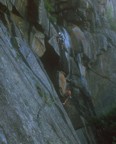
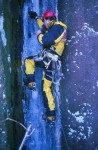
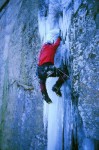
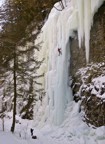
![Will dry-tooling the first 200' of Glass Menagerie in [obviously] thin conditions (WI5, M6)](Lake%20Willoughby/web/thumb/GlassMenagerie.jpg)